bootstrap은 가장 널리 이용되는 frontend 툴킷으로 손쉽게 반응형 웹페이지를 제작할 수 있도록 도와주고 있다.
angular 에서 새로운 프로젝트를 생성한다.
~/Workspaces/AngularProjects ❯ ng new ng-my-app                                                                                                                                                            11:03:57
? Would you like to add Angular routing? No
? Which stylesheet format would you like to use? CSS
...
✔ Packages installed successfully.
    Successfully initialized git.
새로 생성된 디렉토리로 이동하여 다음과 같이 해당 프로젝트에 bootstrap을 설치한다.
~/Workspaces/AngularProjects/ng-my-app master ❯ npm install --save bootstrap                                                                                                                               11:06:39

added 2 packages, and audited 1032 packages in 3s

92 packages are looking for funding
  run `npm fund` for details

found 0 vulnerabilities
angular.json 파일을 수정하여 styles와 scripts에 경로를 추가하여 css와 javascript가 적용되도록 한다.
{
  "architect": {
    "build": {
      ...
      "styles": [
        "node_modules/bootstrap/dist/css/bootstrap.min.css"
      ],
      "scripts": [
        "node_modules/bootstrap/dist/js/bootstrap.min.js",
        "node_modules/@popperjs/core/dist/umd/popper.min.js"
      ]
      ...
    }
  }
}
bootstrap은 내부적으로 popper.js를 사용하기 때문에 npm으로 bootstrap을 설치하면 의존성에 의해서 popper.js가 자동으로 추가되어 있을 것이다.
app.component.html 내용을 아래와 같이 변경하여 제대로 출력이 되는지 확인한다.
<div class="container my-3">
  <div class="row justify-content-center">
    <div class="col-md-6">
      <div class="alert alert-primary" role="alert">
        A simple primary alert—check it out!
      </div>
      <div class="alert alert-secondary" role="alert">
        A simple secondary alert—check it out!
      </div>
      <div class="alert alert-success" role="alert">
        A simple success alert—check it out!
      </div>
    </div>
  </div>
</div>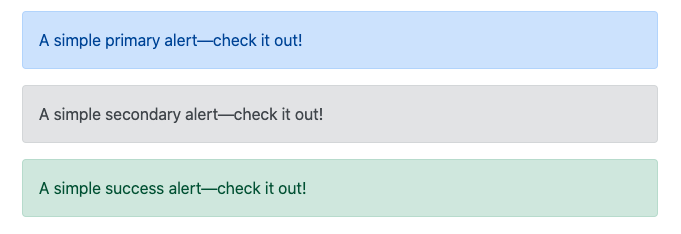
이렇게 출력이 제대로 되는 것을 확인하면 설치가 완료되었다.
'Angular' 카테고리의 다른 글
| Angular - Overall structural guidelines (0) | 2020.05.26 |
|---|
